How to create a Lesson using the Drag the Words Component?
Using this component, you can create textual expressions with missing pieces of text. The end user drags the missing pieces of text to their correct places to form a complete expression.
When to use this Component
You can use this component to check if the user remembers a text he/she has read, or if he/she understands something. It helps the user think through a text.
How it works
- Instructions are provided at the top of the page. Incomplete expressions are given with some blank fields below.
- User drags and drops the boxes with the answers to the relevant empty boxes in the expressions to complete the expressions.
- The user clicks the Check button.
- If the user has replaced the all blank fields with correct answers, they will be highlighted in green. Score is shown at the bottom left side of the page.
- If the user has placed any wrong answer, it will be highlighted in red. Correctly placed answers will be highlighted in green. Score is shown at the bottom left side of the page.
- Retry and Show solutions button appear at the bottom right side of the page.
- If the user clicks the Show Solutions button, the correct answers are displayed next to the wrong answer's empty box in green color.
- The user can try answering the questions again by pressing the Retry button.
Features of this Component
- You can add as many as blank fields and corresponding answers as possible.
- You can add a hint to each missing piece of text.
- You can enable Retry, Show solutions and Instant feedback options.
- You can also set to show feedbacks instantly once the user moves away from the replaced field.
You can create a page using this component by following the below steps.
Step 1: Go to the required Slide

If you are creating a new Presentation, you will be taken to the first slide where you can use this component and create a page. Alternatively, if you want to add a new slide where you want to use this component, click on the '+' icon on the lower right corner as shown in the above image.
Step 2: Click on the Drag and Drop Text Component Icon
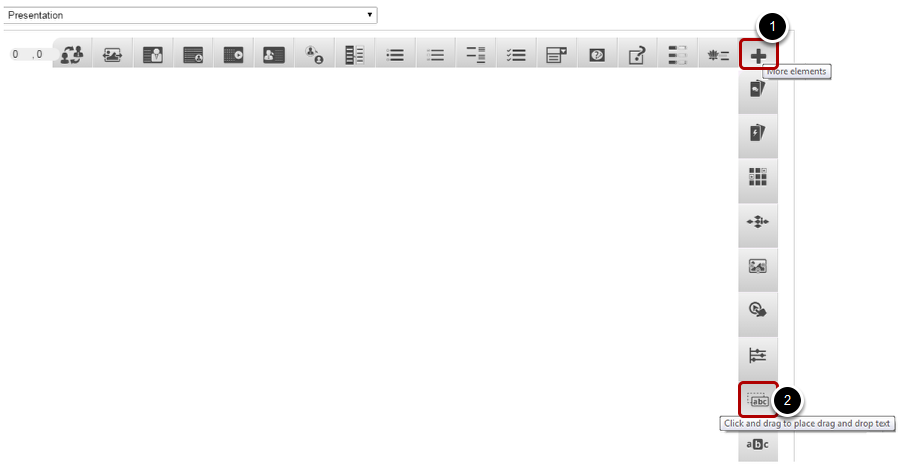
Click on the More elements [1] then click on the Drag and drop Text [2] Component icon as shown in the above image. You will see a screen similar to the image shown below.
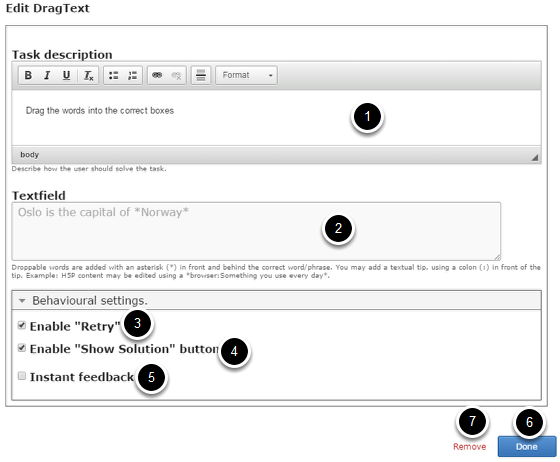
On this screen, you can
• Add a description about this task by typing it in the Task description [1] field.
• Add the expressions in the Text field [2].
• Enable Retry option by clicking Enable "Retry" [3] checkbox.
• Enable Show Solutions option by clicking Enable "Show Solution" button [4] checkbox.
• Set to give provide feedbacks instantly by clicking Instant feedback [5] checkbox.
• Click on the Done [6] button to save the changes.
• Remove the component by clicking the Remove [7] button.
Step 3: Add Task Description
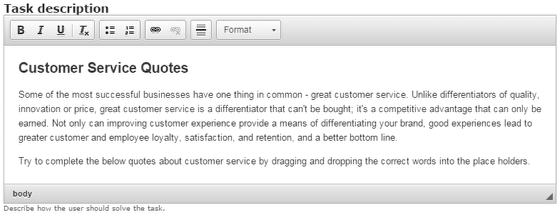
Type the description about the task in the Task description field as shown in the above image. In this field, you can describe how the user should solve the task. You can also change the format of the title.
Step 4: Provide Expressions with Blanks
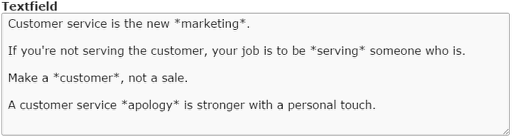
Start entering the expressions in the Text field. Droppable words are added with an asterisk (*) in front and behind the correct word/phrase. You may add a textual tip, using a colon (:) in front of the tip.
Example: *London: The city with Big Ben Tower* is the capital of England.
On the above statement, London is the answer, and the phrase “The city with Big Ben Tower” will appear as a hint.
Step 5: Enable Retry Checkbox (Optional)
If you click the Enable Retry checkbox, you can give another chance to the user to start over. This option is optional, and so tick the checkbox if you need so. By default, it is enabled.
Step 6: Enable Show Solution Checkbox (Optional)
If you check the Enable “Show solution” button checkbox, the user will see the Show Solution button every time he/she clicks on the Check button after selecting wrong answers. By default this checkbox will be checked.
Step 7: Enable Instant Feedback Checkbox (Optional)
If this option is enabled, the answer will be highlighted in green or red once the user drags and drops it into any blank fields. This is optional, and by default, this checkbox will be unchecked.
Step 8: Click the Done Button

Once you've updated all the details, click the Done [1] button shown above to complete editing the page. You can cancel creating the page just by clicking the Remove [2] button shown above. If you click the Done button, you will see the below screen with a preview of the created page.
Step 9: Click the Create Button
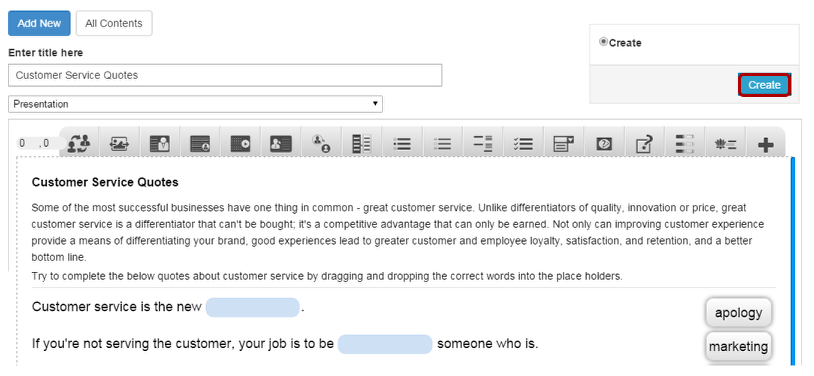
If you still want to edit the page, just double click on the preview page, and you will be taken to the Edit page. If you've done all the changes, you can click the Create button as shown above picture to finish editing the page.
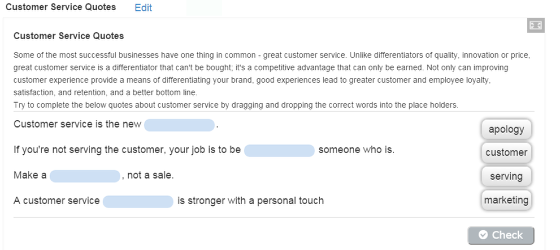
You can see the finished page like the one shown in the above image.
Notes
-
You can add as many textual expressions with missing pieces of text as you like.
-
The hints to the missing texts are optional.
-
If you enable the “Enable Instant Feedback Checkbox”, the Check button will be disabled.
-
The draggable boxes with answers may appear at the right or bottom side of the expressions depending on the length of the text you enter.